Now Tableau Server has 2 add-ons: Data Management & Server Management.
Server Management Add-on has many features, the most important ones are Resource Monitoring Tool and Content Migration Tool. Check out the details here.
I will follow this great installation guide from tableau documentation and show you many screenshots so you can prepare better when you try it yourself.
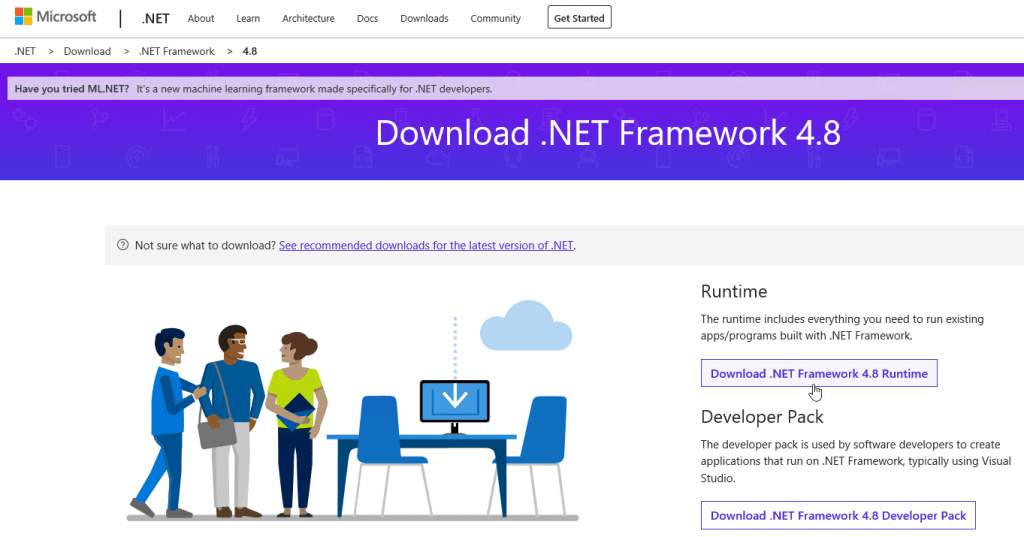
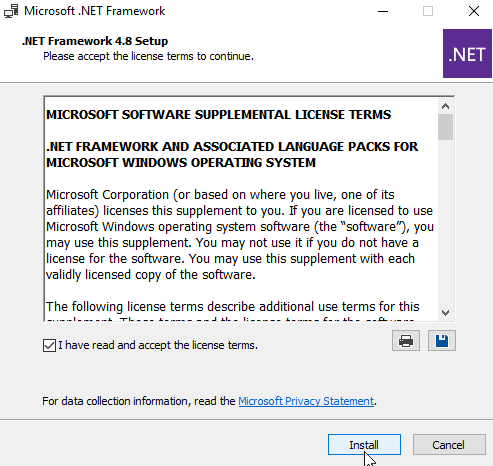
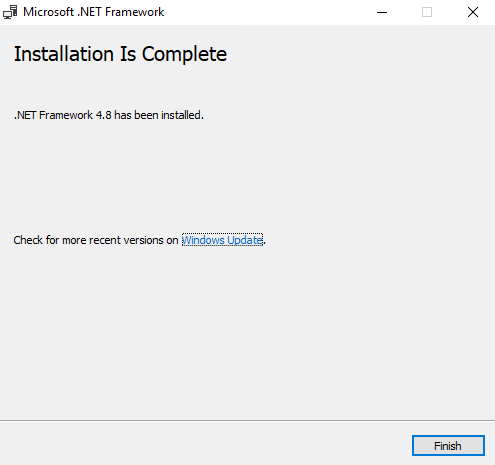
There are a few pre-requisites before you can install Resource Monitoring Tool (RMT) Master server, check out the details here, one of the most important one is to install .NET Framework 4.6.2 or newer. I installed version 4.8.
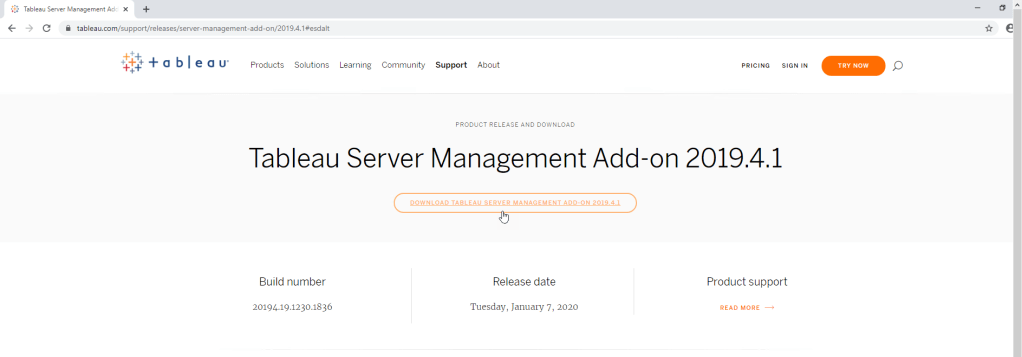
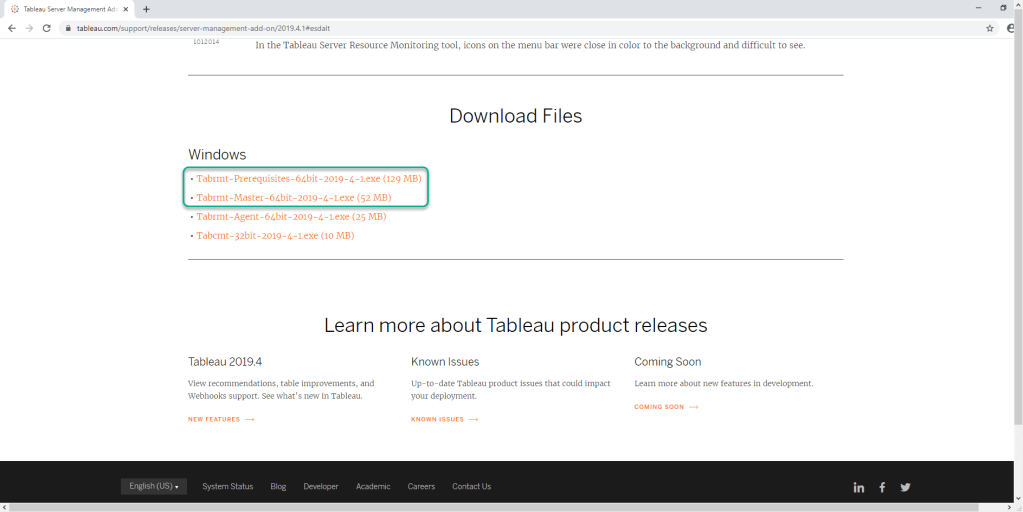
Download RMT Prerequisites & RMT Master installers from tableau website.
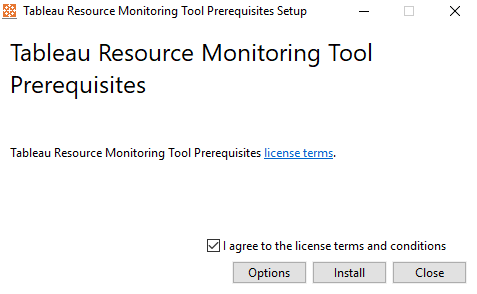
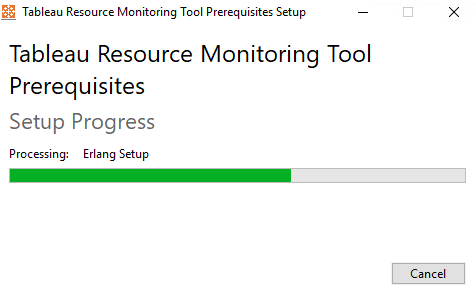
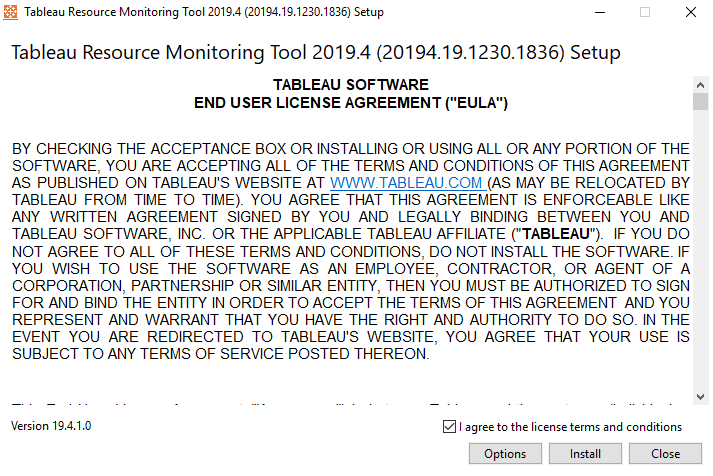
First install RMT Prerequisites installer
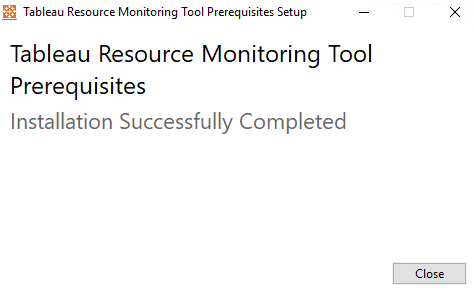
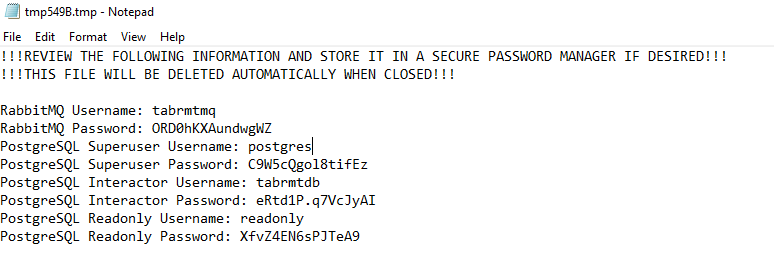
You will also get this text file open with many important information. You should “save as” this text file to another file name as a backup if something went wrong during RMT Master installation.
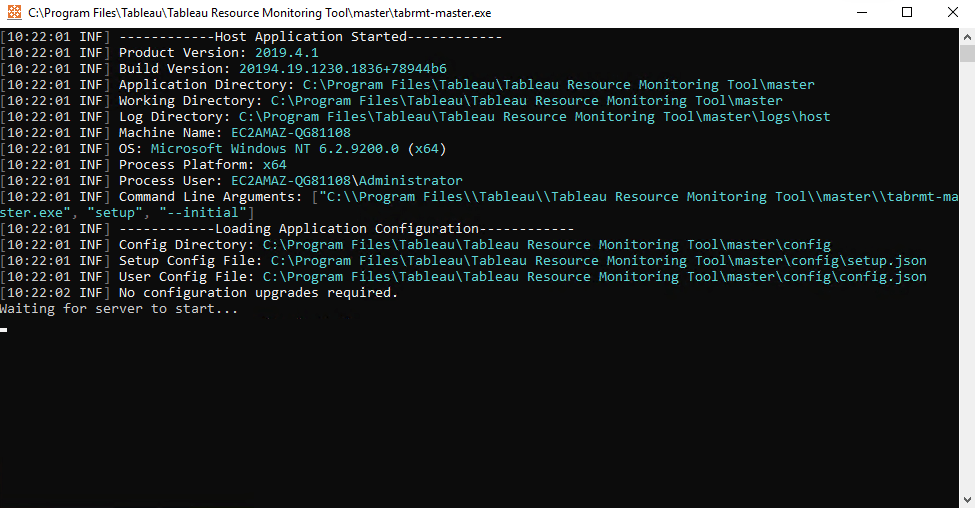
Install RMT Master server
The RMT Server installer will open a command line terminal and continuing the installation processes.
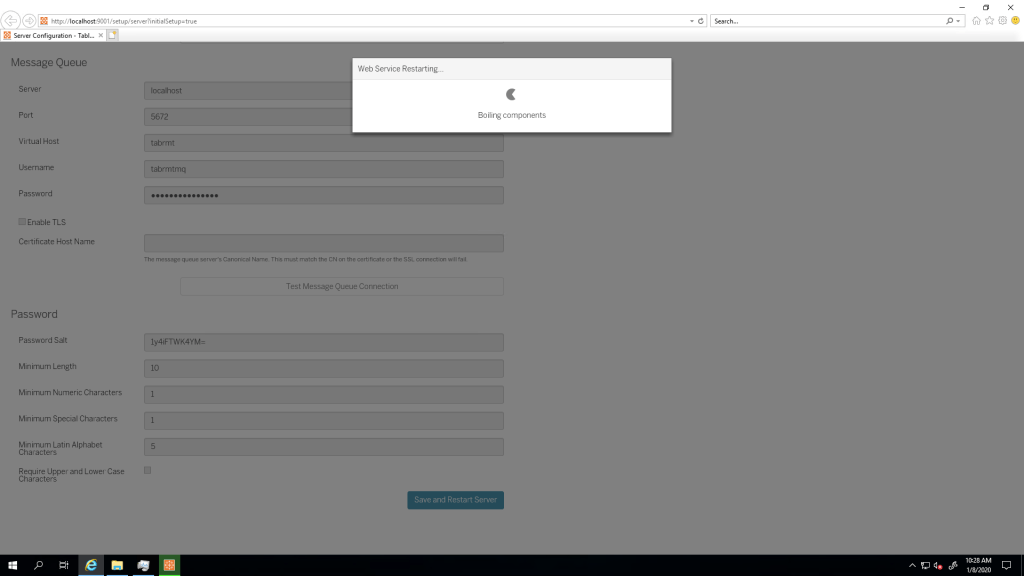
This command line terminal will automatically open your default Web Browser and show below web form. The terminal will read the above text file and automatically filled in the information to this web form.
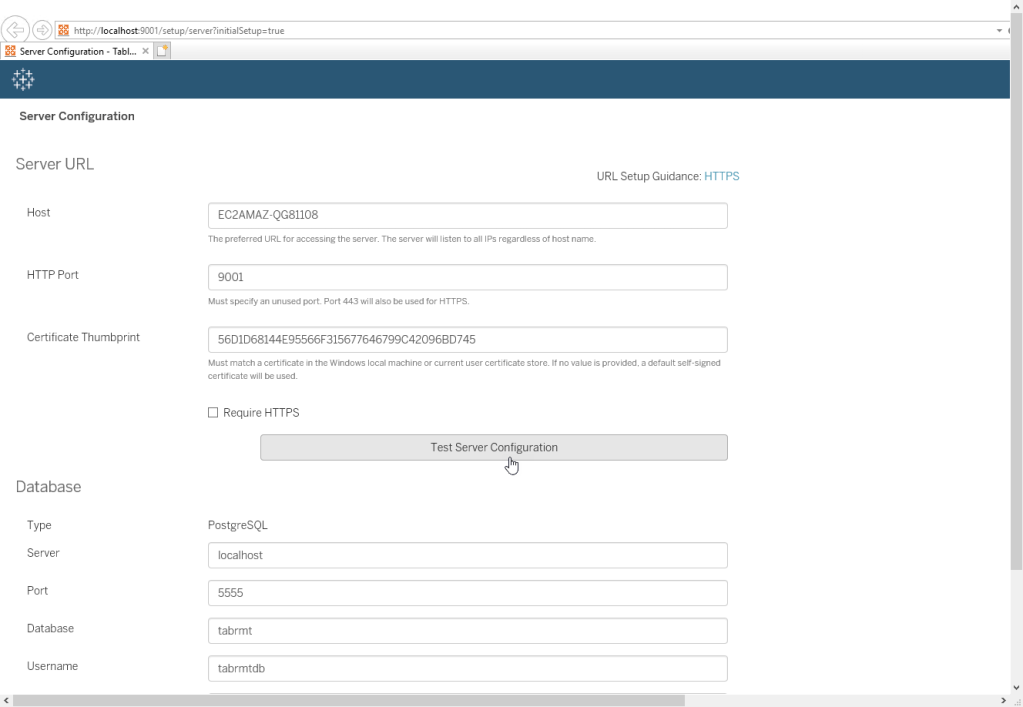
If everything okay, then every text boxes are already filled in with information from the “tmp549B.tmp” text file and you don’t need to manually fill in anything. But if some of the text boxes are still empty then you need to manually copy paste the information from “tmp549B.tmp” text file into the empty text boxes.
Now you just need to click “Test Server Configuration” button.

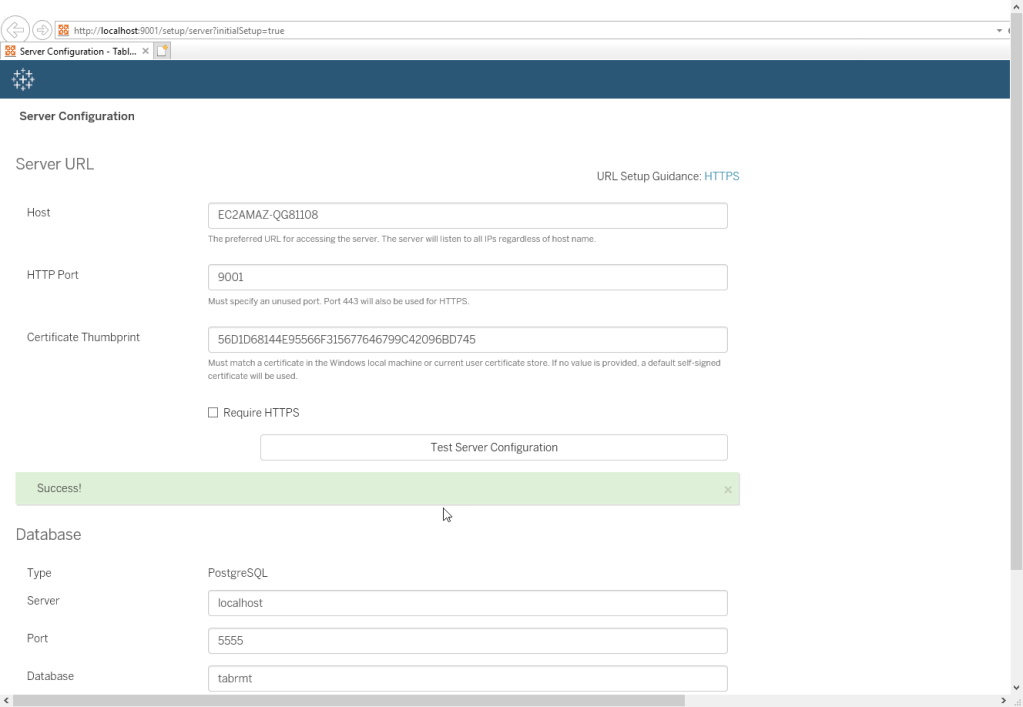
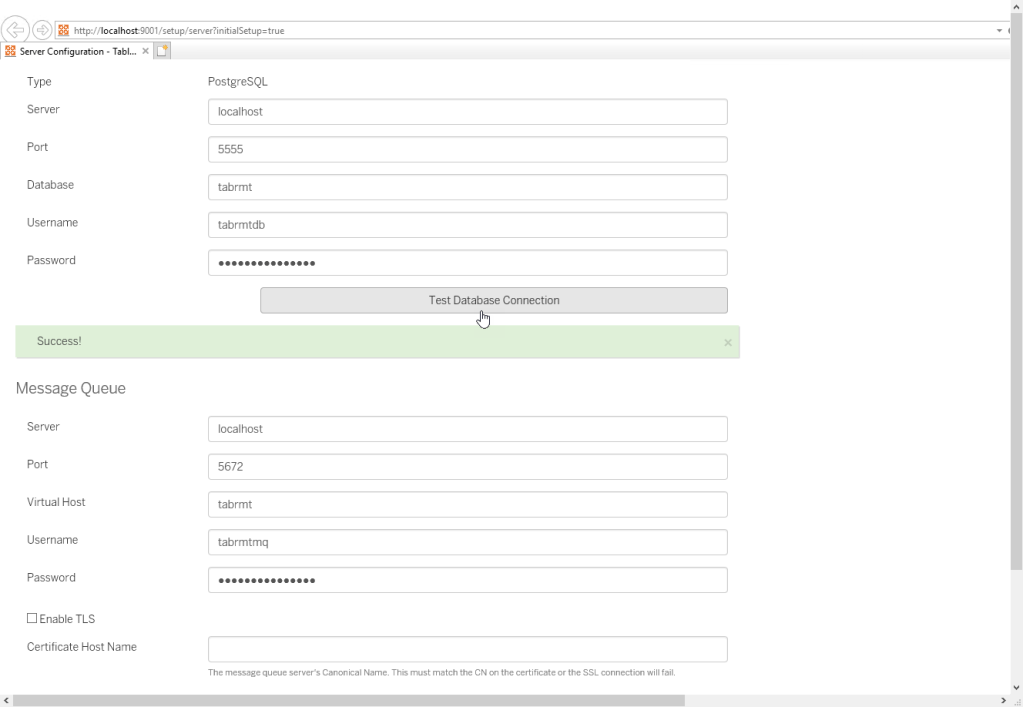
If you get Success! message then continue to click “Test Database Connection” and “Test Message Queue Connection” button.
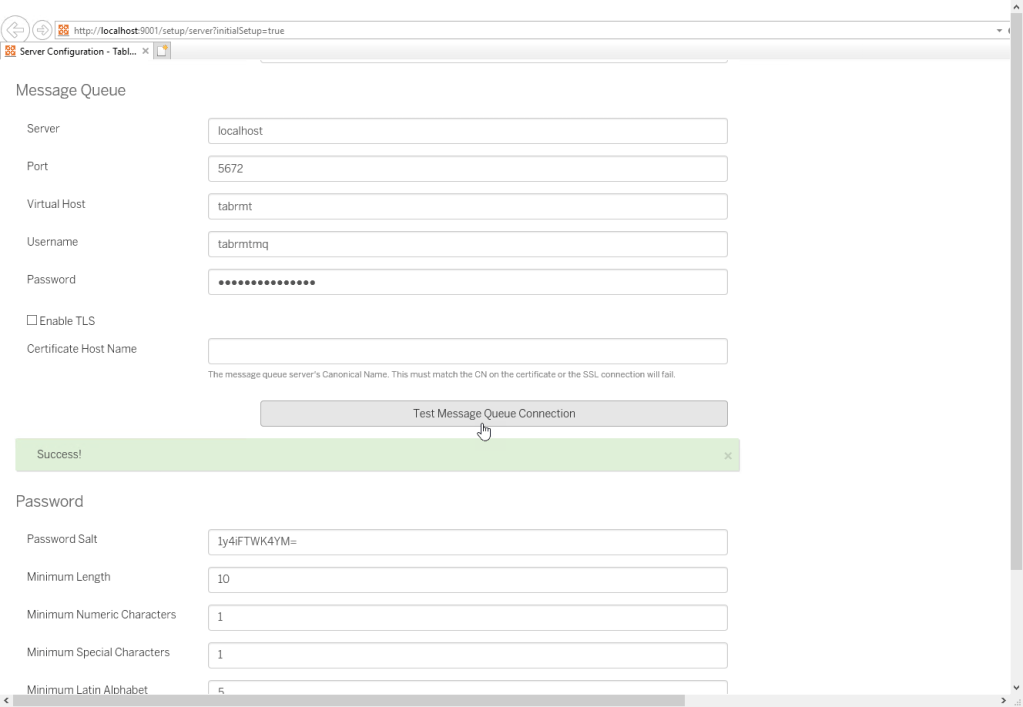
If you see all successful tests then click “Save and Restart Server” button.
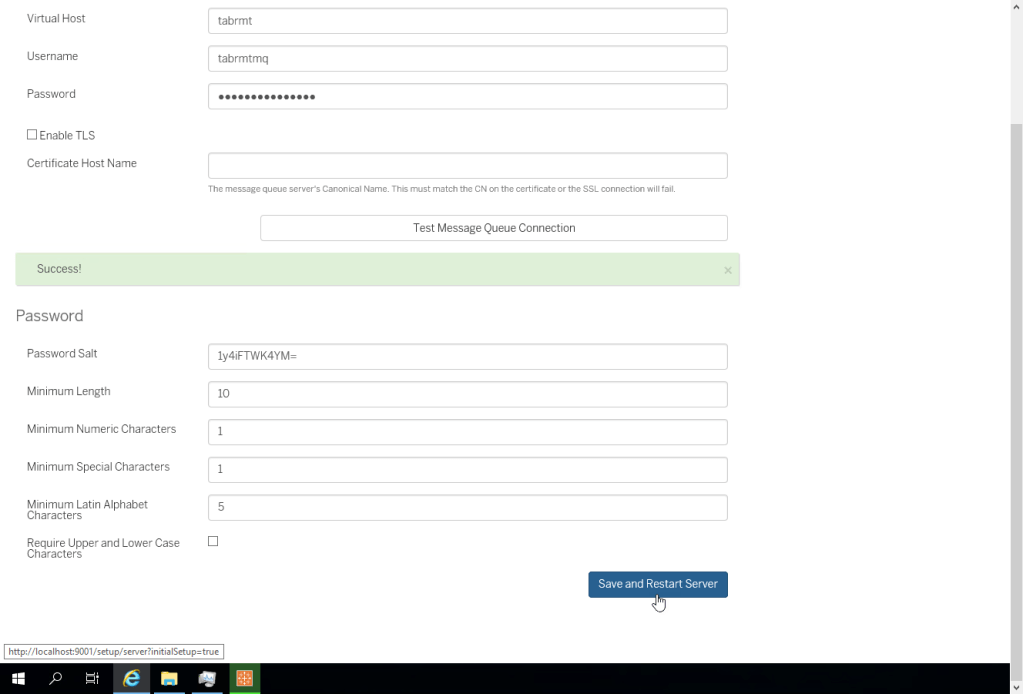
The installer will then automatically open a new “Admin User Setup” webpage so you can create your RMT Server Admin User.
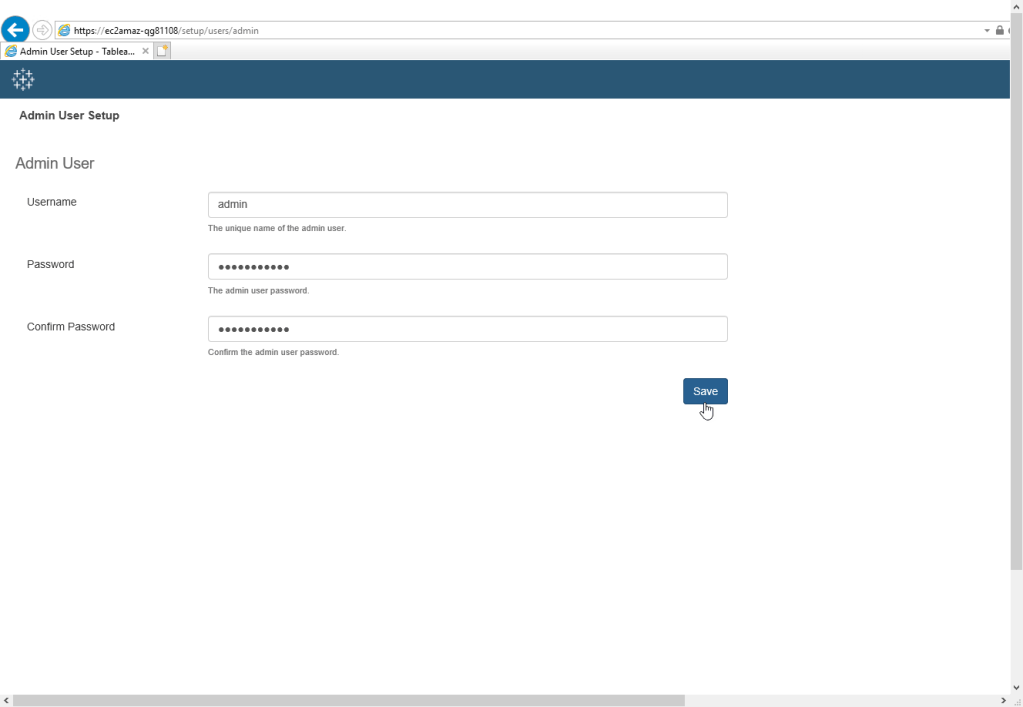
Create your RMT Server Admin User by entering username and password. And click Save.
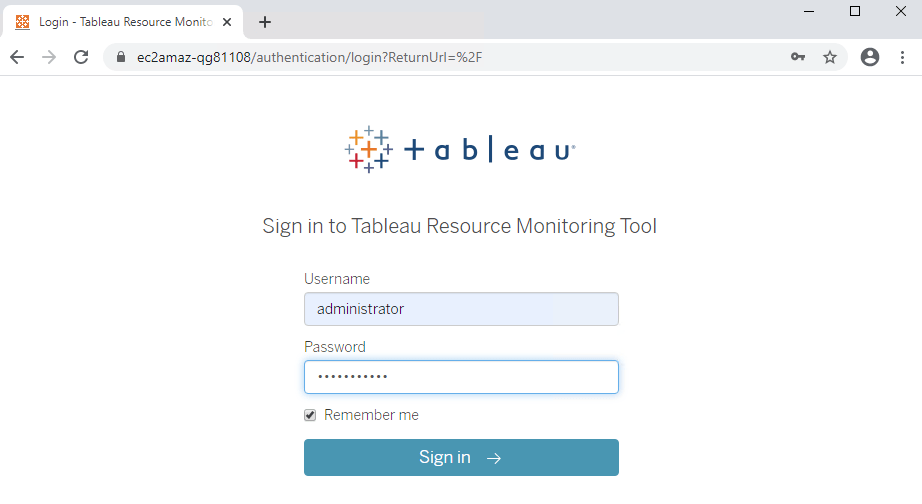
After successful Admin User creation, you will see RMT Server Login page which you can enter the Admin username and password to enter RMT Server UI.
Troubleshooting
If you use Internet Explorer, at the create Admin User page below.

After you enter your username and password and you click Save, you might find this Error page.
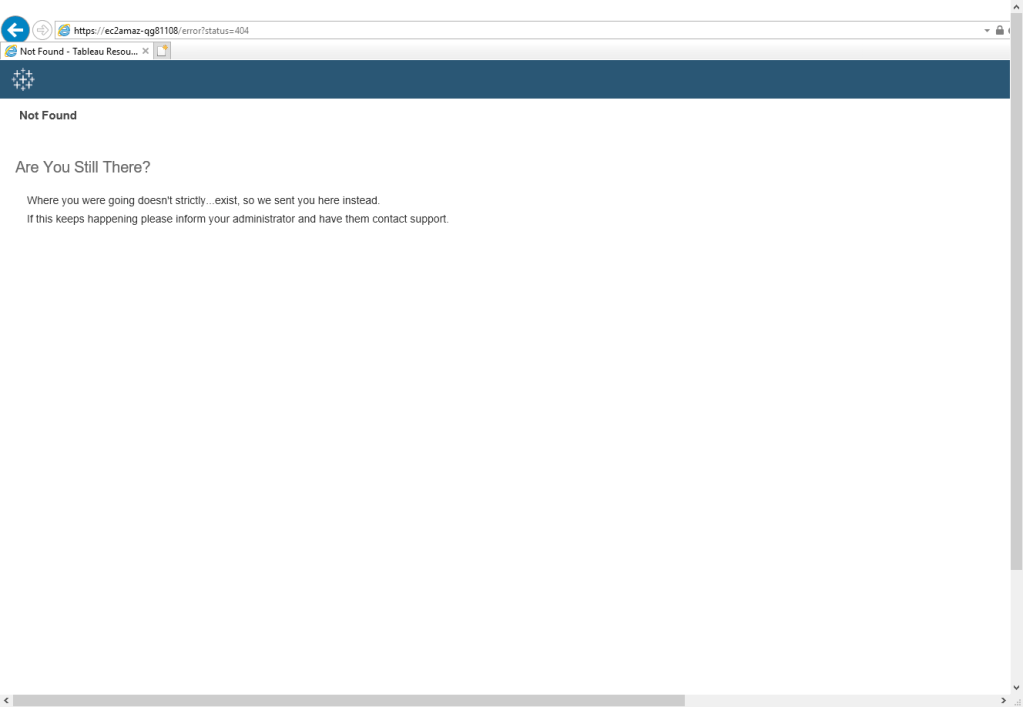
Solution: install & use Microsoft Edge / Mozilla Firefox / Google Chrome web browser and manually open the create Admin User webpage by entering this URL: https://yourserverhostname/setup/users/admin
From the above browser, you can create the Admin User by entering the username and password and click “Save”.
This probably will be fixed in future releases but right now you can use the above solution.
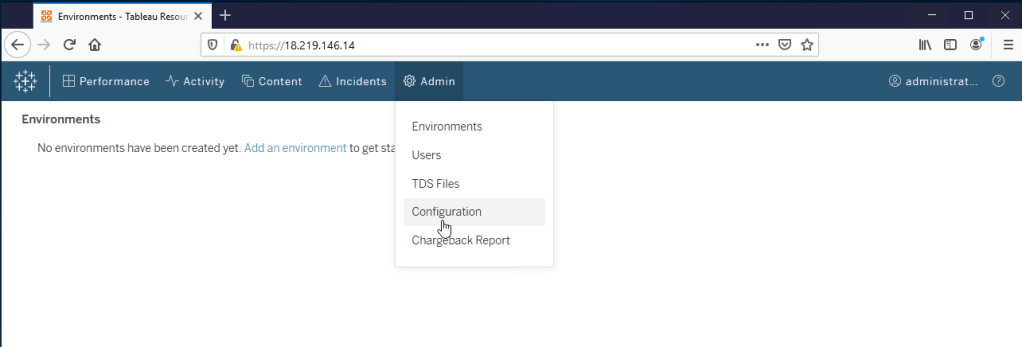
Now we successfully install RMT Server, you can login using the Admin username & password. But you cannot see any Environments performance data because we haven’t install the RMT Agent at the Tableau Server that we want to monitor.
Next step is to install RMT Agent into the Tableau Server that we want to monitor and sync the RMT Agent with the RMT Server.
Check out RMT Agent install guide here.
Tableau Resource Monitoring Tool – Agent Install Guide

[…] Tableau Resource Monitoring Tool – Master Server Install Guide […]
LikeLiked by 1 person
[…] Tableau Server Management Add-on – Resource Monitoring Tool has 2 components. RMT Master & RMT Agent. First, you need to install the RMT Master Server, install guide available here. […]
LikeLiked by 1 person